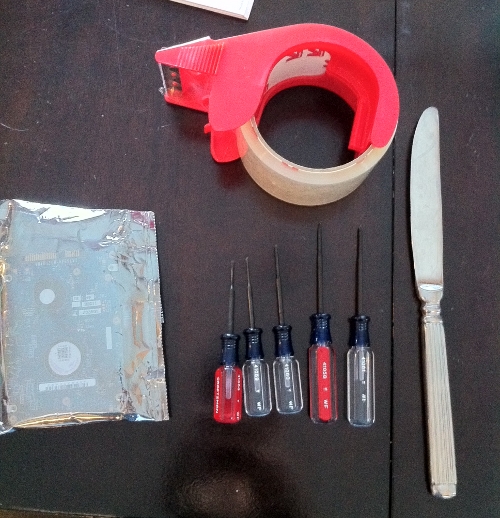
Tools you will need...
- Phelps head screw driver, Butter knife, or a penny.
- Small phelps head screw driver or regular screw driver.
- Packing tape.
This tutorial will hopefully help you as when I was trying to google for help on this I came up dry with methods that were extremely destructive and no were near as efficient.

First you need to open the back of your labtop. "Mine happens to be a Macbook 4,1." This Macbook line seems to be the only one to have this issue so if you have a similar line you can Google for it. Use either a penny or your butter knife and twist open the screw. This should pop open the battery.
Second you will want to touch the metal part inside were the battery lays. This is just incase you might be carrying any static. (You can skip this but I am slightly religious when dealing with hardware and being I have kids running around there is no telling if I might be electrified!)
Third Inside of this area is 3 screws that you need to unscrew from a metal plate. Removing these screws plate should pop off easily.
There should be two RAM bays and your hard drive should be to the left of these.
For more details and pictures: http://www.macinstruct.com/node/130
Till step 5)
Now having gotten to step and you happen to be extremely unlucky and you do not have the lovely white pull tab. Your packing tape will now come in handy.
- Tear a piece of packing tap with a straight end.
- Take your butter knife and prop the drive up without pushing it to hard.
- Place the packing tap down on the bottom and begin to slowly push it in using a screw drive.
- Your goal should not be to get it all the way but just enough.
Once you get a good amount behind the drive use the butter knife on the opposite side to push the drive down onto the tape. This should give enough grab to the drive to then pull it out with the remaining amount of tape.
***Note if the tape bunches to much in the beginning you may need to start over.
If it bunches you still may be able to get it out long as it is far enough inside.
Next make sure you get a new EMI shield / hard drive tab to place on your new or existing hard drive. This way next time you wont have to go through this. Not having this in place could result in your hard drive corrupting and or getting an invalid node count.
In my case I ran into this and having gone through all the steps I found my hard drive was not corrupt but rather got disconnected slightly and needed to be re-imaged.
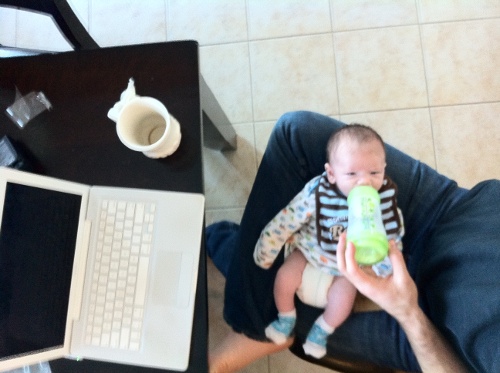
Oh and to add a layer of difficulty also feed a baby at the same time...


